Use it for Everything!
A few days ago, we got our first theme approved on ThemeForest. When we developed it, our main focus was speed and clean readability, and we tend to believe that we managed to achieve our goals.
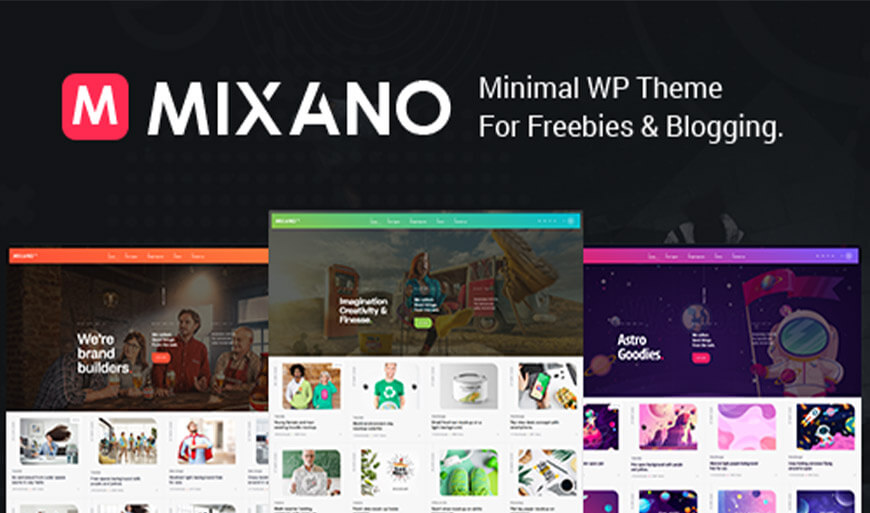
Mixano it’s a minimal WordPress theme for blogging & freebies.
It is also suitable for bloggers and magazines. It was developed with great techniques in order to achieve the perfect page speed score and loading time.
The theme is very easy to use and customize, lightweight, and SEO friendly. It performs flawlessly on desktop and mobile devices, making it a search engine favorite.
Website speed is vital and you know it!
If you want to take a look under the hood and buy it (why not :D?!), just click on the button below.
Spread the word around if you like it. Sharing is caring!


No Comments